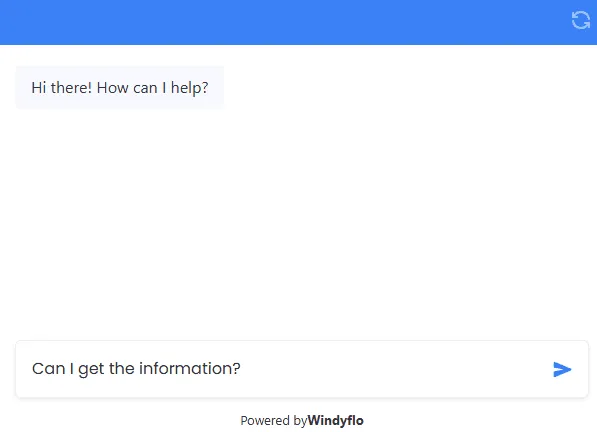
Who is this guide for?
Developers, product managers, and entrepreneurs who want to integrate AI functionality into their apps or websites without complicated coding or expensive computing resources.
First, sign up or log-in to WindyFlo.
1. Create a new pipeline.
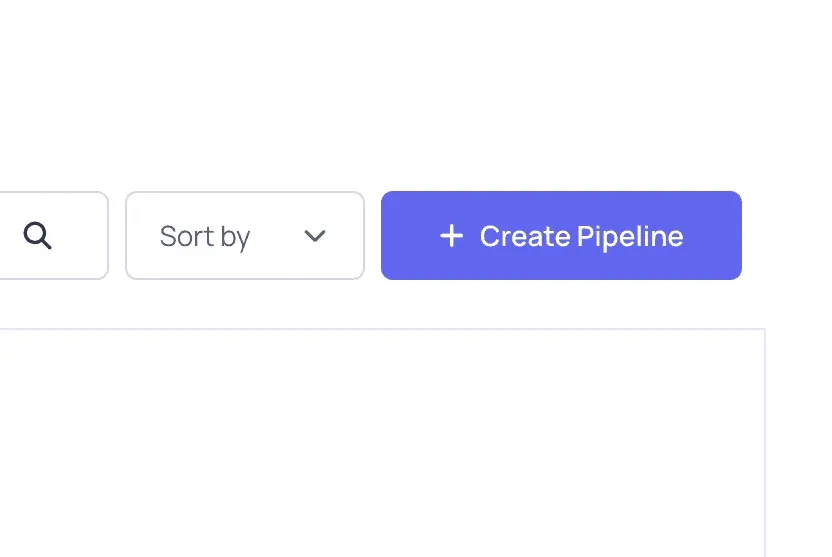
1) On the menu, go to My Pipelines and click 'Create Pipeline.'
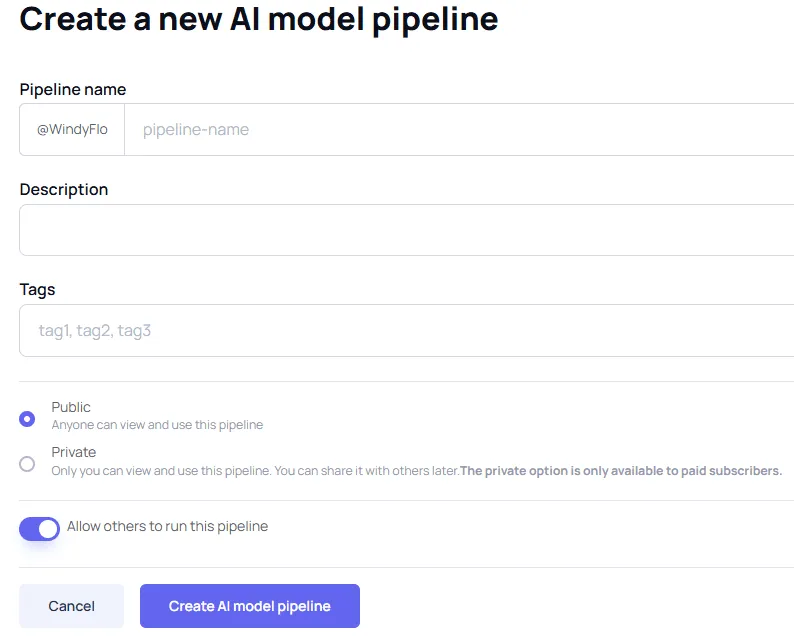
2) Fill in the pipeline details, and
click Create AI Model Pipeline.
- Pipeline Name: Name your pipeline.
- Description: Summarize the purpose of the pipeline.
- Tags: Add tags to make your pipeline easier to discover.
- Public/Private: Choose whether to keep the pipeline public or private.
2. Build your pipeline.
1) Select Pipeline on the left-side menu.
This will open your workspace for this pipeline.
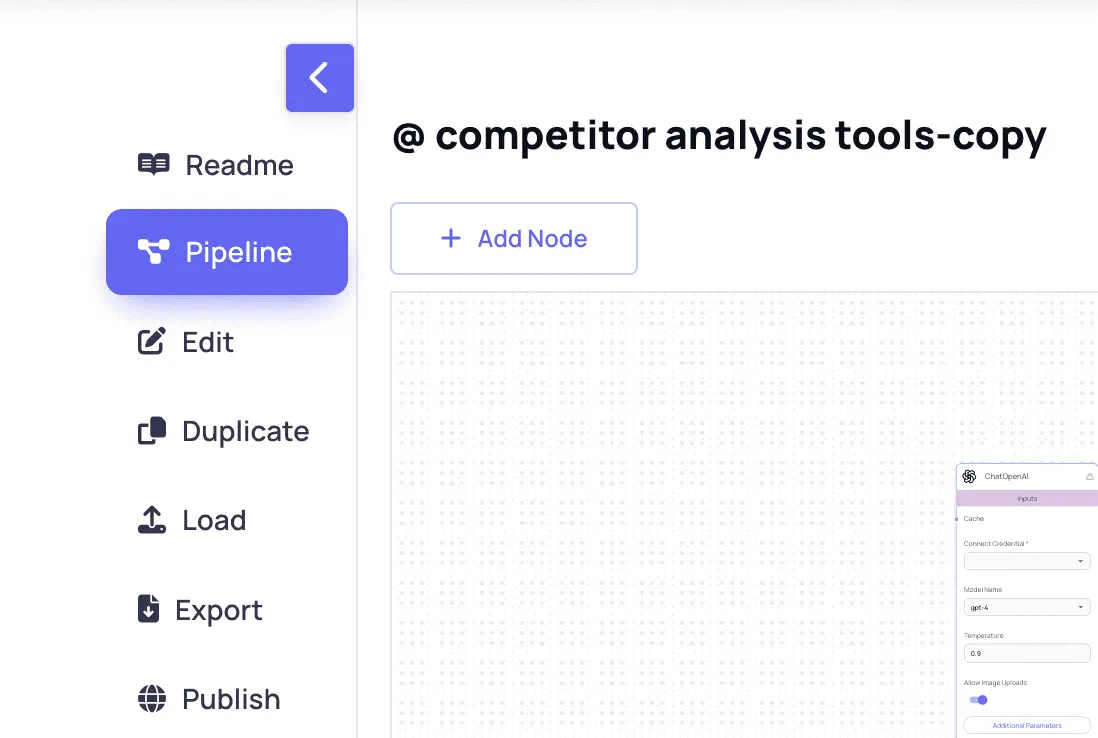
2) Click Add Node, search the node you need, and drag it onto the workspace.
You can either search or scroll down to see different node options.
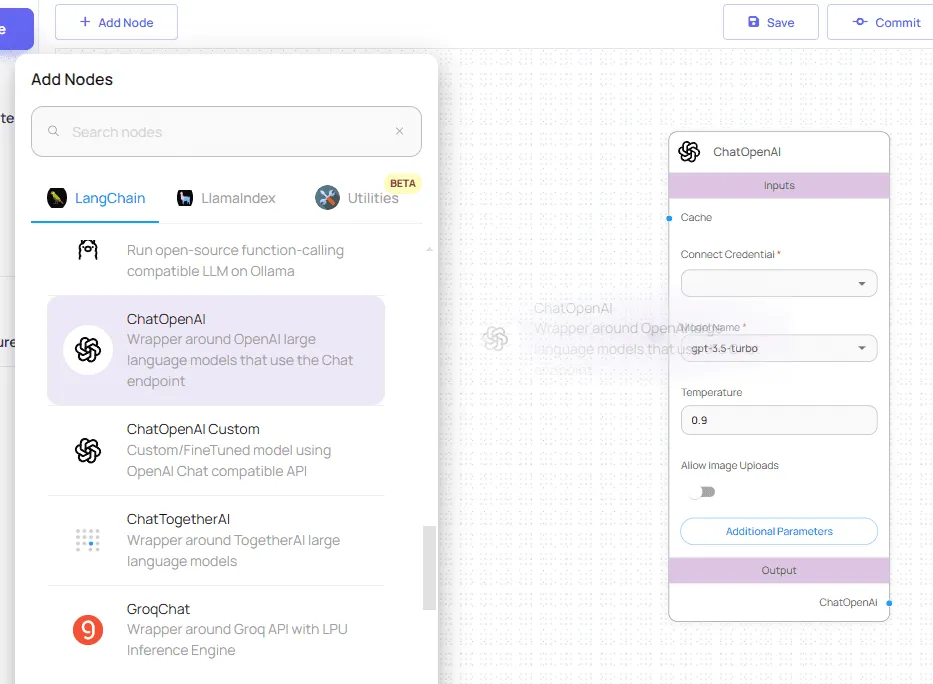
3) Configure the node parameters.
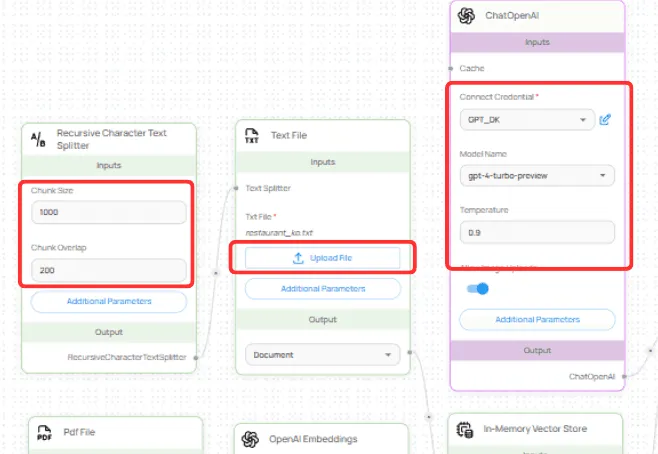
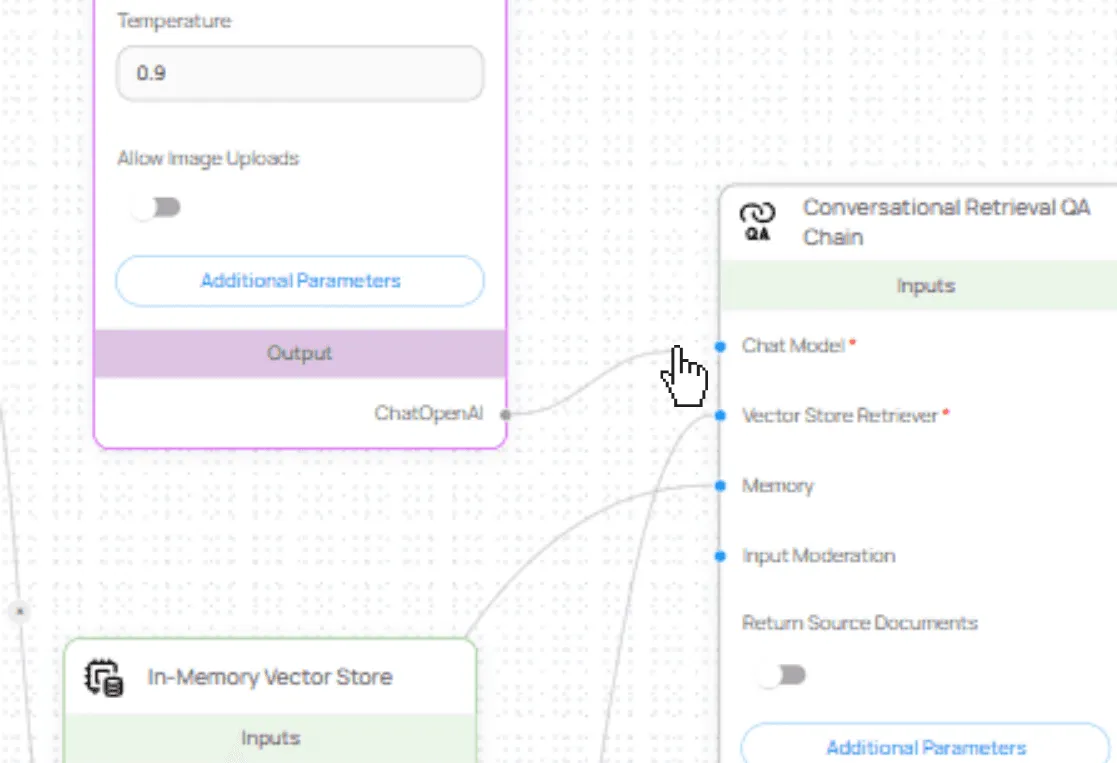
4) Connect the nodes.
- Inputs are on the left, and outputs are on the right of each node.
- Click and drag to connect node points with matching input/output types.
3. Save and test-run.
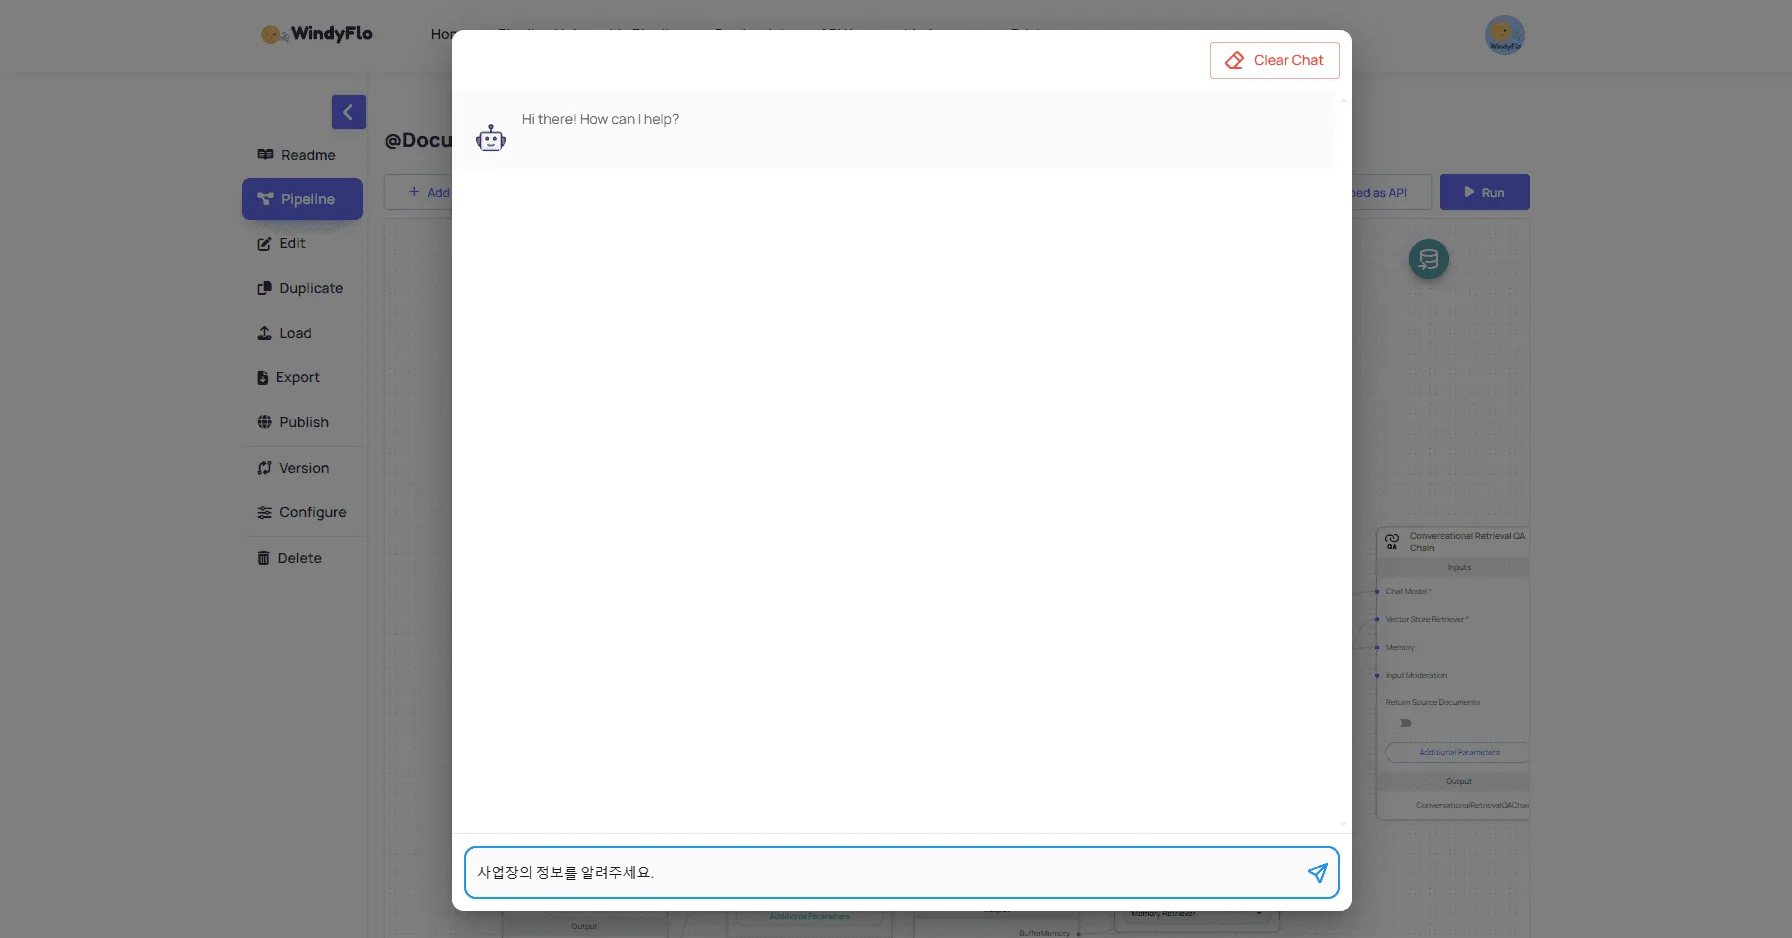
1) Click Save, and then click Run.
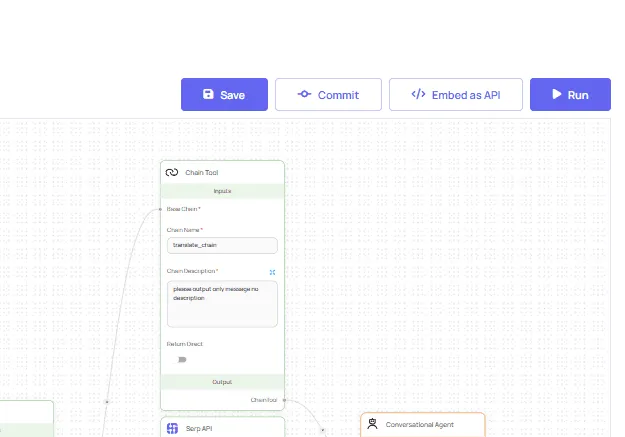
2) Type a command to test the pipeline.
4. Share the Pipeline
Share via API
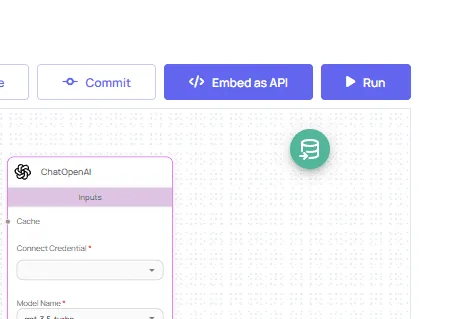
1) Save your pipeline, and then click 'Embed as API.'
To make it accessible via API or embedded on a website.
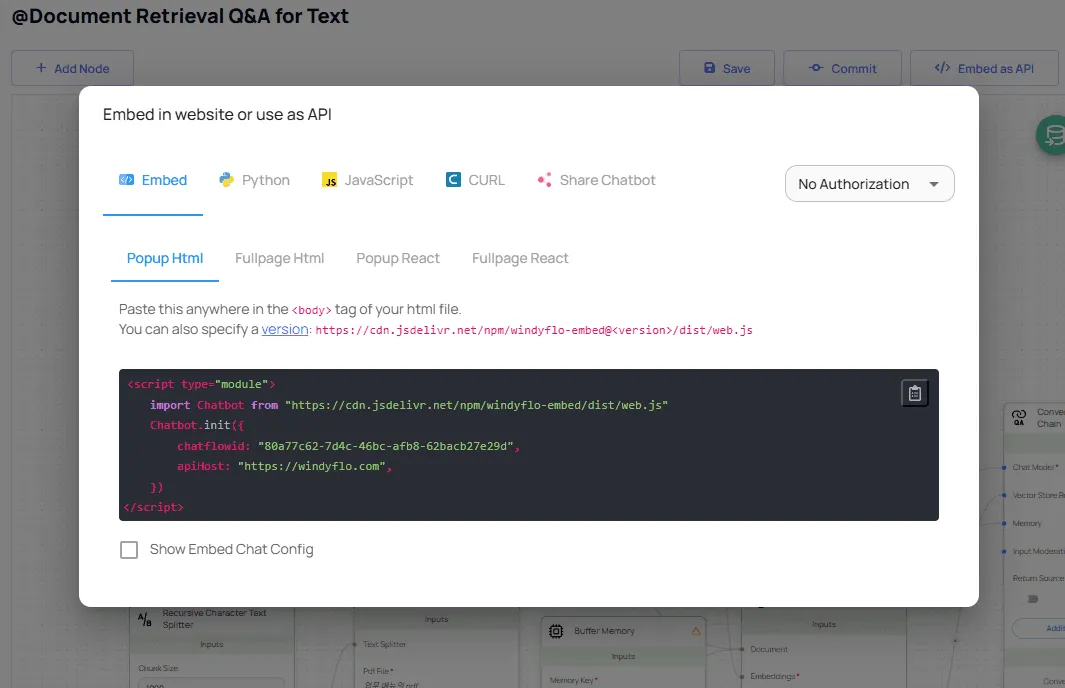
2) Choose your preferred language (HTML, React, Python, JavaScript, or CURL) and copy-paste the generated code into your service.
Use as chatbot
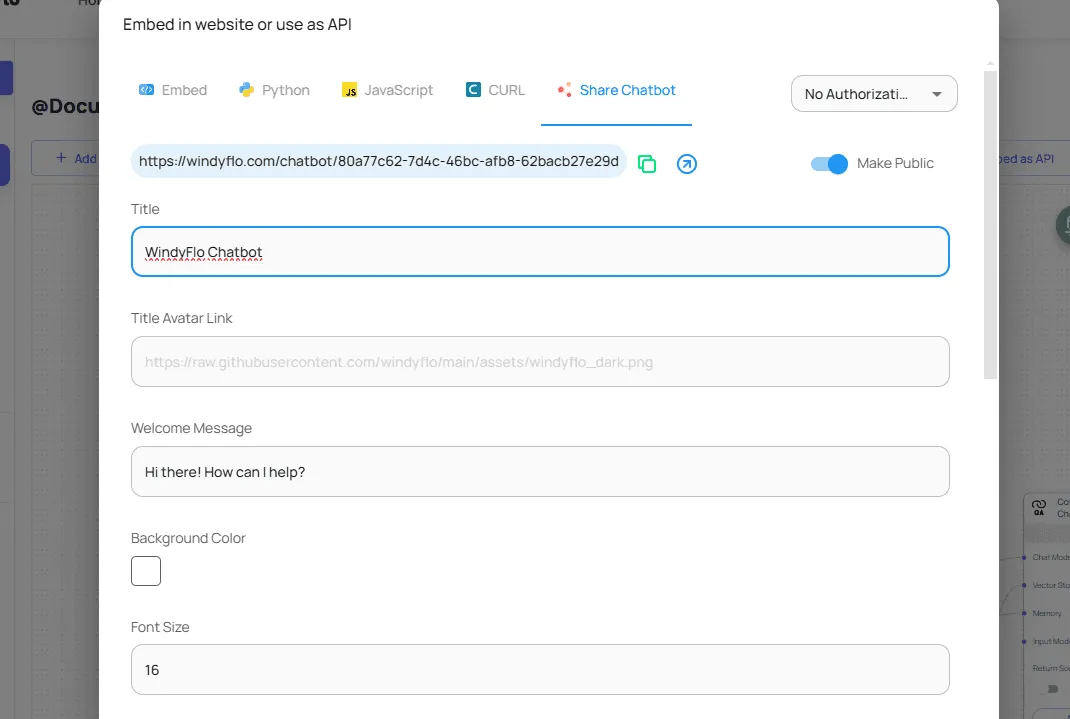
1) Alternatively, to share it as a chatbot with no additional integration, select Share Chatbot.
- This feature is only available for pipelines that function as chatbots.
- Pipelines designed for data processing may not support this feature.
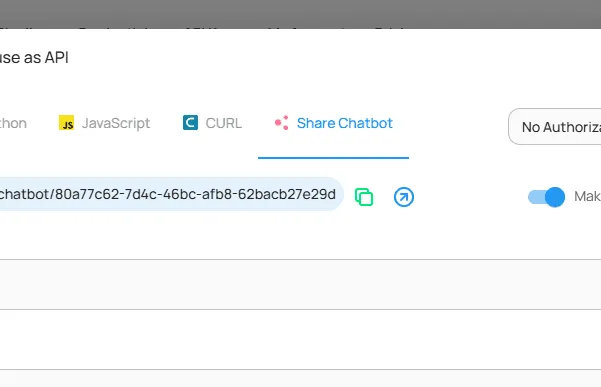
2) Customize the chatbot settings (e.g., title, welcome message) and click the new tab icon to launch.
- Left icon: Copy link
- Right icon: Open link
3) Test your chatbot by entering a query in the "Type your question..." field.
- Once testing is complete, copy the link and share it with your audience!